
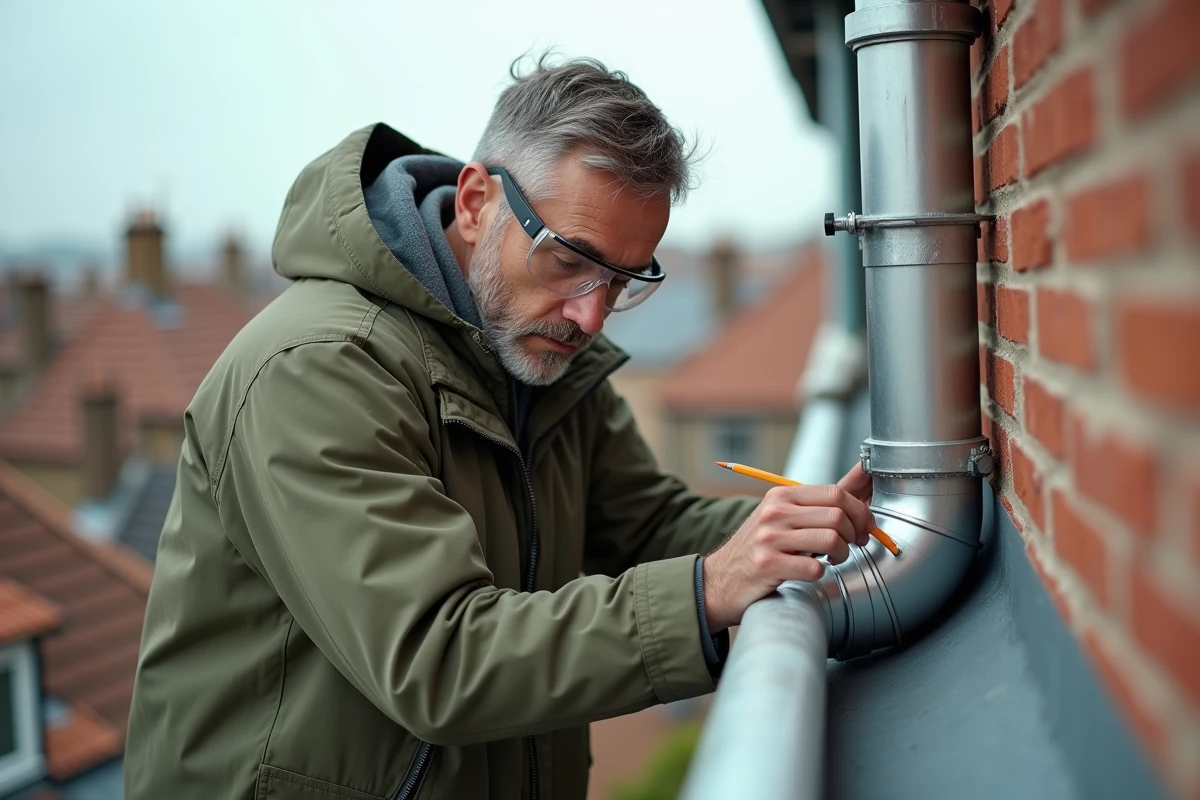
A zinc downspout that is too long, a connection to adjust after installing a rainwater collector, or simply a damaged section to replace: cutting zinc is part of the routine maintenance of roofing. The problem is that zinc does not behave like a PVC pipe. If cut poorly, it deforms, cracks, or has burrs that prevent proper fitting.
Why zinc reacts differently from other downspout materials
Have you ever cut a PVC pipe with a saw? The action is simple, and the result is clean. With a zinc downspout, the situation changes. Zinc is a soft and ductile metal: under the effect of a rotating blade or a grinder, it heats up quickly and deforms.
See also : How to Provide Constructive Feedback to Your Intern: Methods and Examples
This deformation is not limited to aesthetics. A deformed downspout does not fit properly into the next sleeve or elbow. The sealing of the connection becomes uncertain, and the drainage of rainwater eventually causes problems at the wall.
The heat produced by an abrasive disc also alters the protective layer of zinc. This layer, called patina, forms naturally and protects the metal from corrosion. Destroying it locally creates a weak point where white rust settles, reducing the lifespan of the section. Knowing how to cut a zinc downspout cleanly starts with choosing a method that avoids overheating.
See also : How to Calculate Net Salary from Gross: Examples and Methods

Tools suitable for cutting a zinc downspout
The choice of tool determines the quality of the cut. Not all cutting tools are suitable for zinc, and some commonly used in DIY can cause more damage than good.
Sheet metal shears and duckbill shears
The classic sheet metal shear (known as “aviation”) works well for standard thicknesses of downspouts. It cuts by shearing, without producing heat. The duckbill shear, with its curved jaw, allows you to follow the curvature of the pipe without forcing.
Shearing is the method that best preserves the flatness of the metal. The cut remains clean, without aggressive burrs, and the pipe retains its round section. For a cylindrical downspout, the duckbill shear offers the best compromise between precision and ease of handling.
Metal saw and nibblers
The metal saw works, provided you use a fine-toothed blade. The action must remain steady, without excessive pressure, to avoid ovaling the pipe under strain. A vise or clamp holding the pipe is then necessary.
The portable nibbler cuts zinc quickly, with little deformation. It nibbles the metal point by point, which limits heat. It remains an investment, but for regular roofing work, it is justified.
What to avoid
- The angle grinder with abrasive disc: it overheats the zinc, throws sparks, and destroys the protective layer of the metal over several centimeters around the cut
- The jigsaw without a specific blade: it vibrates the pipe and produces jagged edges
- Standard DIY scissors: too thick for thin zinc, they crush the edge instead of cutting it
Marking and securing the pipe before cutting
Before touching a cutting tool, two steps condition success: marking and securing the pipe. Neglecting either one exposes you to an angled cut or a crushed pipe.
Mark your cutting line with a fine marker all around the pipe. Wrap a piece of adhesive tape around the downspout: the edge of the tape serves as a perfectly straight guide. Remove the tape, and a continuous and regular line remains.
To secure the pipe, a bench vise with protected jaws (a cloth or two wooden blocks between the jaws) prevents the zinc from being marked. Without a vise, an assistant holding the pipe firmly during the cut remains the most accessible solution.
Step-by-step cutting technique on a cylindrical downspout
With a duckbill shear and a properly marked pipe, here’s how to proceed.
Start by drilling a starter point on the marked line, with the tip of the shear or a small drill bit. This entry point avoids deforming the edge by forcing the blade into the solid metal.
Place the blade of the shear in the starter point and cut along the marked line. Progress with small, steady pressures rather than large strokes. Rotate the pipe (or rotate around it) to follow the curve without twisting the already cut sheet.
On a rectangular section pipe, cut one side at a time. Start with the wider faces, then finish with the narrow sides. This sequence limits the risk of twisting the profile.
Finishing after the cut
Once the pipe is separated, run a fine file or fine-grit sandpaper along the cut edge. This step eliminates micro-burrs that could hinder fitting or cause injury during handling.
A deburred edge also facilitates the application of sealant at the time of connection. The sealant adheres better to a smooth surface than to a serrated edge.
Connecting the downspout after cutting
The cut is only half the job. The connection determines the sealing of the entire drainage system.
Check that the cut section fits without forcing into the sleeve or the gutter outlet. A gap of a few millimeters is normal and desirable: it allows for sliding in sealant or solder to ensure sealing.
Secure the downspout to the wall with suitable hooks, spaced regularly, to prevent the weight of rainwater from pulling on the joints. A poorly secured section will eventually come apart, especially after prolonged rain episodes.
If the downspout feeds a water collector, ensure that the slope remains sufficient between the gutter and the collection point. A cut that is too short alters the drainage angle and can create a stagnation area conducive to dead leaves and blockages.
Well-cut and well-connected zinc lasts for decades without intervention. The key lies in choosing the right shearing tool, careful marking, and systematic deburring. Three simple actions that make the difference between a durable repair and a connection that leaks at the first storm.